How to Photograph Reflective Surfaces in Macro Photography without Unwanted Glare
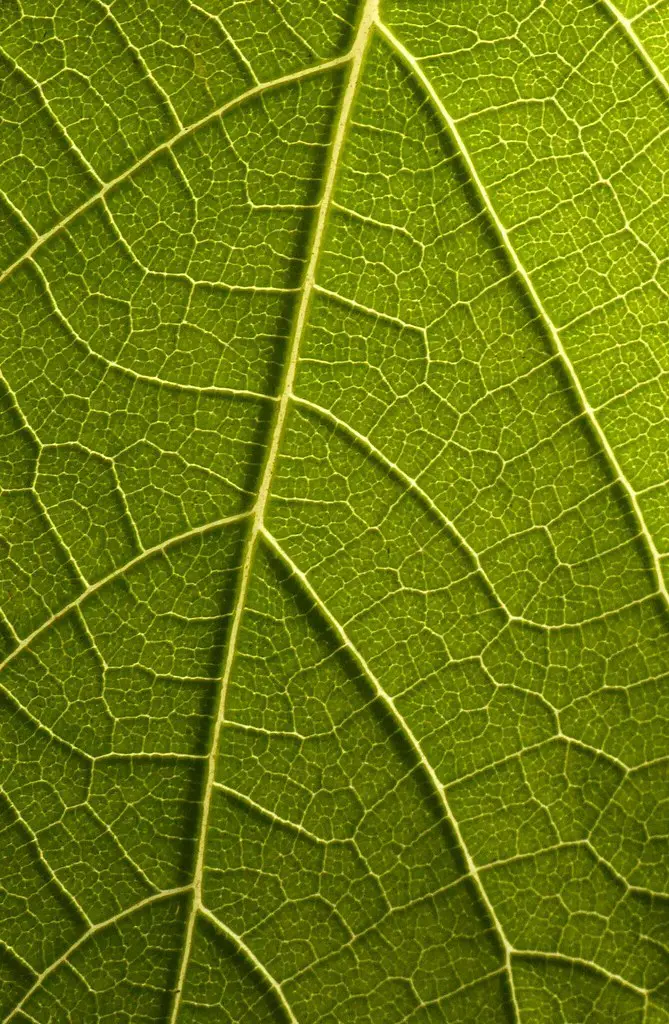
Macro photography delivers an enchanting view of the world’s finer details, turning everyday objects into pieces of abstract art. However, when you’re dealing with reflective surfaces in your close-up shots, you may find yourself squinting at the glare rather than admiring the image in its entirety. This article is a definitive guide for photography enthusiasts, photographers, and even professionals who wish to master the art of capturing reflective surfaces in macro photography, without the headache of glare.
Understanding the Issue
When you get up close and personal with a reflective surface, such as metal or glass, stray light bounces off and causes a glare, leading to a loss of detail and color accuracy. This glare not only distracts the viewer but also diminishes the essence of the surface’s reflection.
The Science of Glare
Reflective glare stems from the principles of light physics, where the angle of incidence equals the angle of reflection. In macro photography, the proximity to the reflective surface increases the likelihood of capturing this bounced light, which can be detrimental to your image’s quality.
Impact on Image Quality
Glare can wash out colors, reduce the visibility of subtle textures, and create an overexposed area in the photograph. This creates a visual challenge for photographers aiming for high detail and accurate representation, especially with close-up subjects.
Techniques to Minimize Glare
To confront the issue of glare head-on, several techniques are at your disposal.
Adjust Lighting Angles and Intensity
By repositioning your light sources, you can avoid the direct path of reflected light. Utilize diffusers to soften light and limit the number of reflective surfaces facing the camera for a more controlled setup.
Implement Polarizing Filters
Polarizing filters are a game-changer in macro photography of reflective surfaces. They selectively block light waves, helping to reduce glare and enhance color saturation. Rotating the filter allows for fine-tuning the effect depending on the shot.
Choose the Right Shooting Angle
The position from which you take the photograph can dramatically alter the presence of glare. Experiment with shooting angles to find the sweet spot where glare is at a minimum and reflection is more pronounced.
Equipment Tips
The right gear can make or break the shot.
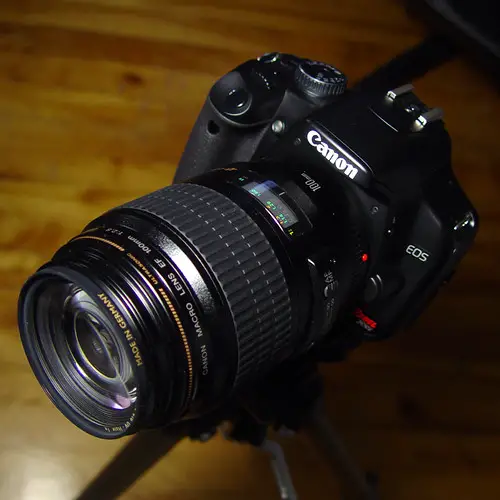
Selection of Appropriate Lenses
Lenses with lower refractive indexes are less susceptible to creating internal reflections that lead to glare. Macro lenses, with their specific optical design, can be especially effective in reducing these unwanted aberrations.
Tripod Usage for Stability
In macro photography, even the slightest movement can shift the intended balance of light. A tripod provides stability, allowing you to fine-tune the shot without the risk of introducing camera shake or shifting light patterns.
Lens Hoods and Lens Cleaning
A lens hood can be your first line of defense against unwanted glare by making sure that only necessary light enters your camera. Combine this with a clean lens to ensure you’re only capturing the light you intend to, without any added reflections or flares.
Practical Examples
Step-by-step guidance to showcasing your newfound skills.
Setting Up Your Scene
Begin by choosing a reflective subject that interests you, then set up your macro photography workplace. Apply the techniques learned so far to minimize glare.
Examples with Visible Glare
Capture the same reflective surface under various conditions, initially allowing for glare to be visible in your shots.
Refinement and Glare Reduction
Continue adjusting lighting, angles, and introducing the previously-mentioned accessories to gradually diminish glare in your macro photographs until you achieve a desired level of reflection and detail.
Before and After Comparisons
Share side-by-side comparisons of your initial photographs with those taken after implementing the glare reduction techniques. This visual aid can be a powerful learning tool, depicting clear improvement in image quality.
Conclusion
With the glare reduced and your mastery over reflective surfaces in macro photography improved, the world’s tiny reflectors become your ally in creating stunning visuals. Remember, the techniques demonstrated here are not a one-size-fits-all solution but a starting point to catalyze your photography adventures. Practice, experiment, and adapt these methods to suit each unique photographic opportunity.
Happy shooting, and may your macro photographs be as glare-free as they are breathtaking.